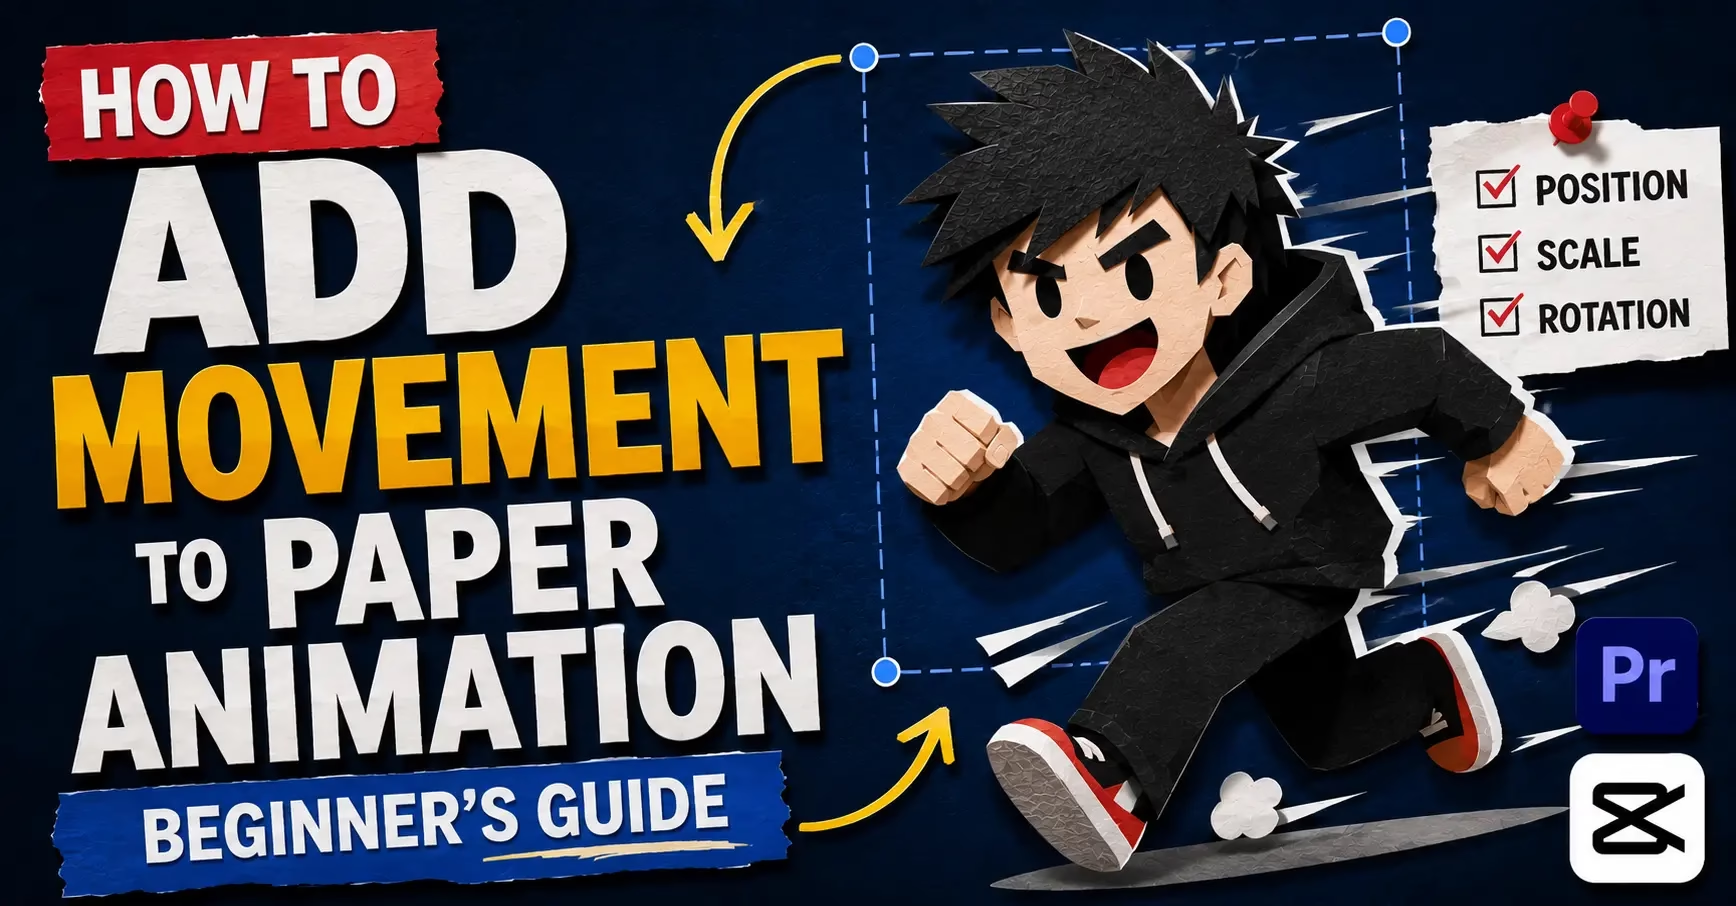
How to Add Movement to Paper Animation — Beginner’s Guide
A still paper cut-out is already eye-catching. One that moves is something else. If you have never tried to add movement to paper animation before, this guide covers every step from upload to export so you do not waste time on a bad result.
The movement style here is the boil effect. It mimics the natural wobble of hand-cut paper held in front of a camera. Stop-motion filmmaker Ray Harryhausen used this organic shake in his work to make animated figures feel alive rather than mechanical. PaperAnimators.in builds this directly into the editing studio so you get the same result digitally without a camera or physical cut-out.
One slider controls the intensity. Ten seconds of adjustment produces a looping animated file ready for social media or video overlays.
What the Boil Effect Actually Is
Stop-motion animators discovered decades ago that audiences respond differently to animation with slight imperfections. A perfectly smooth digital animation reads as computer-made. A slightly wobbly one reads as handmade and human.
The boil effect creates that wobble by slightly shifting the position and shape of the paper edges on each frame of the animation loop. The shift is random within a controlled range. Too little and the movement is invisible. Too much and the subject looks like it is vibrating from a technical fault rather than moving with intention.
Getting the amount right is the whole skill. Everything else in the process is just pressing buttons in the right order.
Before You Add Movement to Paper Animation: Two Things to Check
Check Your Subject Isolation First
Movement makes every edge visible. A rough or uneven edge around your subject that barely registers on a still image becomes obvious once the animation starts looping. Clean up the background removal before touching the movement slider.
Decide What You Are Making
Still PNG exports do not support animation. If you want the movement to actually play, you need to export as WebM. If you export as PNG after adding movement, you get a single frozen frame of the animation, not the moving version. Deciding the output format before you start saves a wasted export later.
Step 1: Upload Your Photo and Remove the Background
Open PaperAnimators.in and upload the photo you want to animate. Once the image is on the canvas, switch to the editing studio and complete background removal first. The movement effect applies to your subject as a whole object.
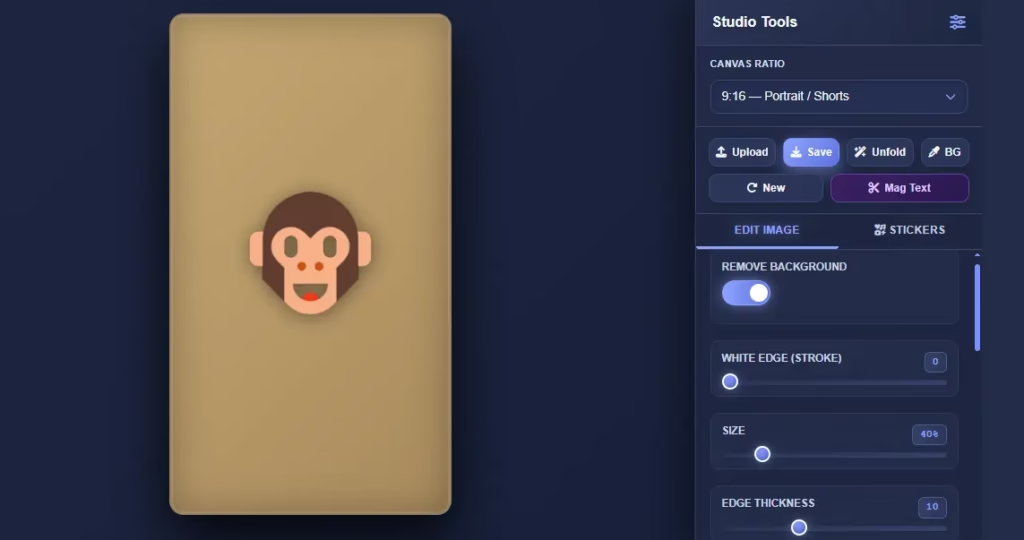
A clean subject boundary makes the boil look natural. A messy boundary makes it look like the edges are glitching rather than moving. Creators in Delhi, Mumbai, and Bangalore typically shoot against a plain wall at home before uploading. A simple white or light-coloured wall gives the background removal tool the cleanest result to work with.
Step 2: Apply Your Paper Effect
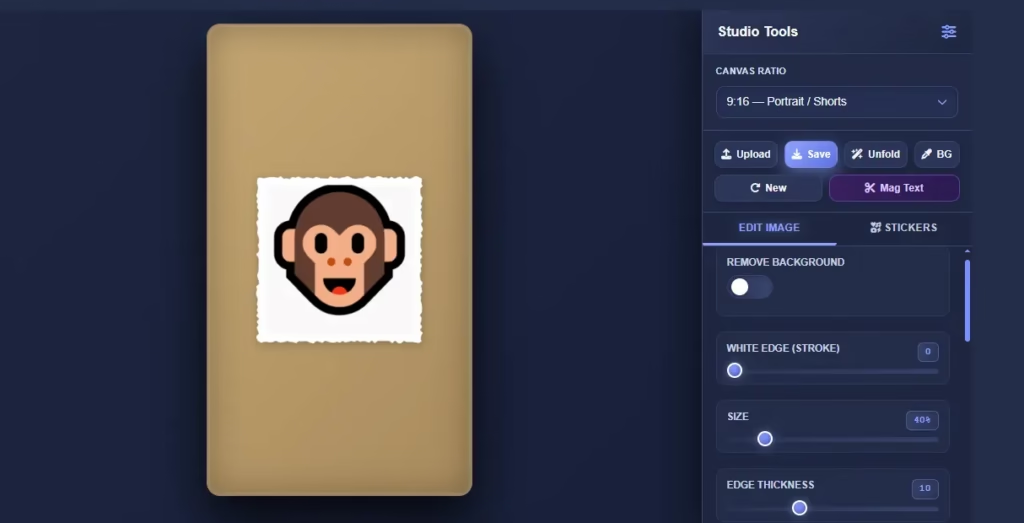
With the background removed, select your paper effect from the effects panel. Both options let you add movement to paper animation but behave differently when animated
Paper Cut-Out with movement produces a static subject that wobbles in place. The cut-out edges shake slightly and the shadow underneath shifts subtly with each frame. The impression is of a hand-cut piece of paper held against a background.
Paper Fold-Out with movement adds the boil on top of the unfolding animation. The subject folds out then continues to have a slight organic shake once fully visible. This works well for short intro sequences in videos.
Step 3: Find the Movement Slider
In the editing studio settings panel, scroll down until you find the Movement control. It appears below the edge and shadow settings as a single slider. This is the only control you need to add movement to paper animation on this tool.
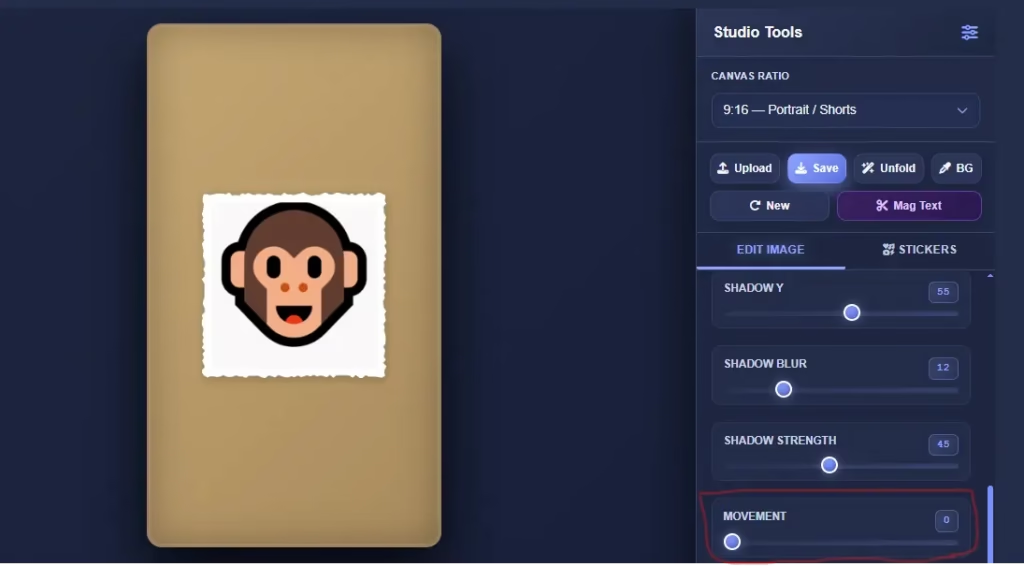
The slider runs from zero to maximum. Zero means no movement at all. Maximum produces an aggressive shake that works for a very specific energetic style but looks wrong for most uses.
Start at zero and move up slowly while watching the preview. The right amount becomes obvious once you see it.
Step 4: Set the Right Movement Intensity
This is the part most beginners get wrong by going too high too quickly.
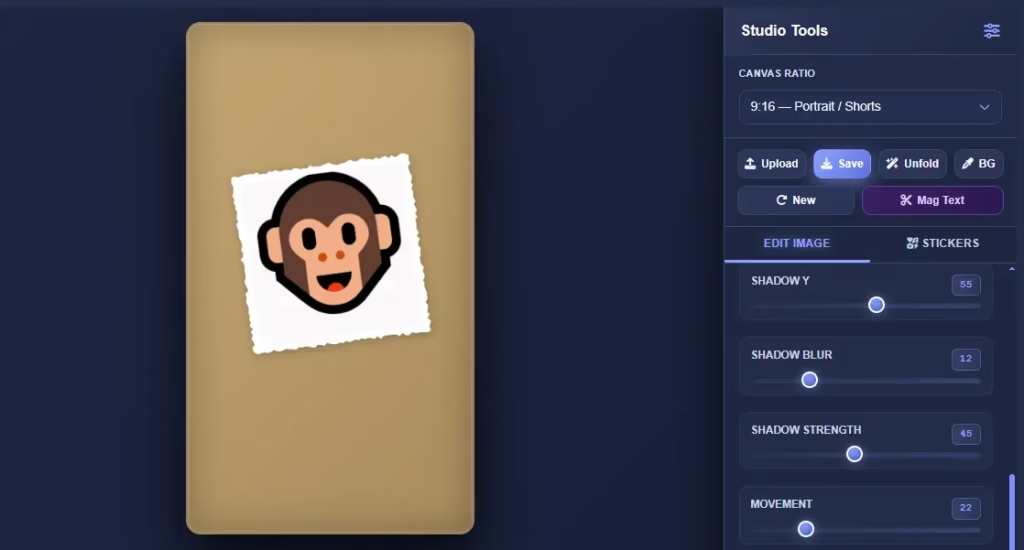
Start at around 20 to 30 percent. Watch the preview. At this level the movement is subtle. The edges have a gentle organic wobble that reads as handmade without drawing attention to itself. For profile pictures, podcast artwork, and presentation graphics, this range works well.
Move to 40 to 60 percent for content where the movement needs to be noticed. Social media posts where the animation is the main visual, video intro sequences, and animated stickers all work at this intensity. The wobble is clearly visible without looking like a malfunction.
Above 60 percent the movement becomes the dominant feature. The subject shakes noticeably on every frame. This works for intentionally energetic content but reads as a mistake when the surrounding design does not match that energy. Watch the preview for a full loop before exporting.
Step 5: Adjust Loop Duration
The animation loops continuously when played. The loop duration controls how long one full cycle of movement takes before repeating.
A shorter loop duration creates faster movement. A longer loop duration creates slower movement. The boil intensity and loop duration work together. High intensity with a fast loop feels frantic. High intensity with a slow loop feels more like a gentle pulse.
For most content, a loop duration between one and three seconds produces natural-looking results. A fast-cut TikTok video suits a faster loop. A calm podcast intro suits a slower one.
Step 6: Export as WebM
Once the movement looks right in the preview, go to the export panel and select WebM export. Choose the transparent background option or the green screen option depending on where you plan to use the animation.
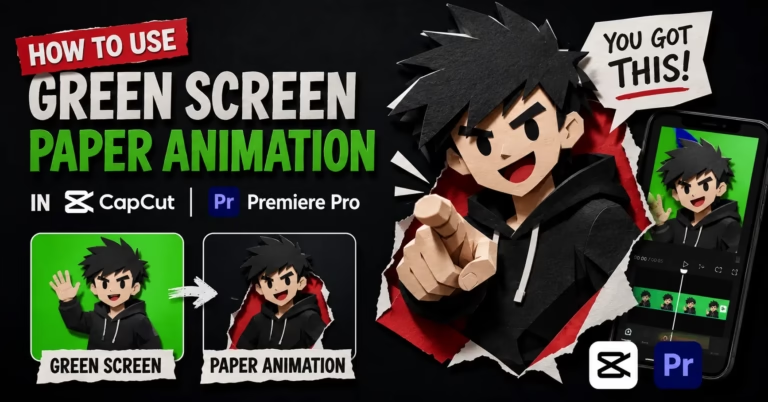
Transparent WebM works in Adobe Premiere Pro, After Effects, and DaVinci Resolve. These editors support video with transparency natively. Green screen WebM works in any editor with a Chroma Key function, including the free version of CapCut. If you are not sure which platform will receive the file, green screen is the safer choice.

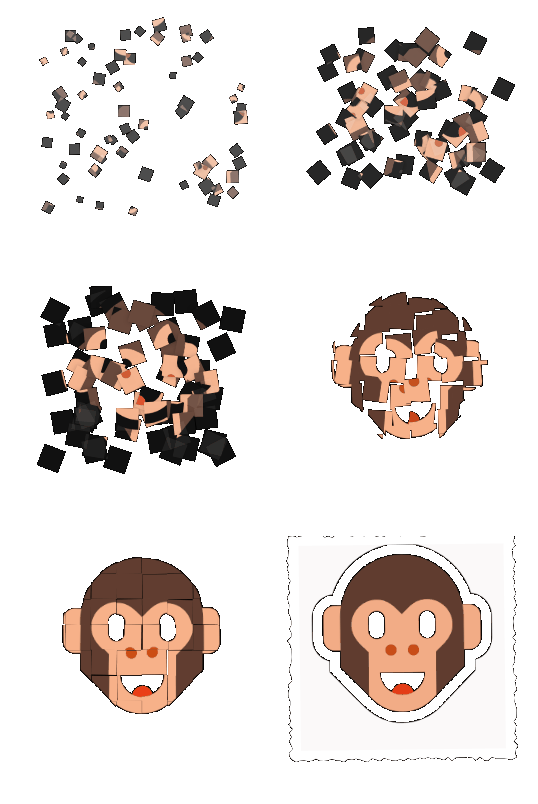
Export at the highest resolution available before downloading. Higher resolution gives you more flexibility when the animation sits inside a larger video composition.
Common Problems and How to Fix Them
The Movement Looks Jerky Rather Than Smooth
This usually means the loop duration is too short relative to the movement intensity. Either reduce the intensity or increase the loop duration. Both settings need to balance for the movement to look organic.
The Edges Shake But the Body Stays Still
This is normal and correct. The boil effect applies to the edges of your subject, not the entire image. It mimics real paper where cut edges have the most visible movement. If the whole subject moves, drop back to 30 to 40 percent intensity.
The Exported File Looks Different From the Preview
Check that you exported at the highest resolution available. Lower resolution exports make the boil effect look rougher than it does in the preview. VLC plays WebM correctly on all platforms if your default player shows a still frame.
The Transparent Background Shows as Black
This is a player issue, not an export issue. The transparency is intact in the file. Open it in a video editor and the transparent areas appear correctly. Black transparent backgrounds show up in certain video players that do not support alpha channels in WebM.
What to Use Animated Paper Cut-Outs For
Profile pictures on Discord, Telegram, and some Twitter configurations support animated images and work well with this format. A looping paper cut-out profile picture stands out more than a static photo on platforms that support animation.
Video overlays where a paper-style character sits in the corner of a talking-head video are another strong use case. Creators running YouTube channels from Hyderabad, Lucknow, and Coimbatore use this style to give their videos a distinctive look without a professional studio setup.
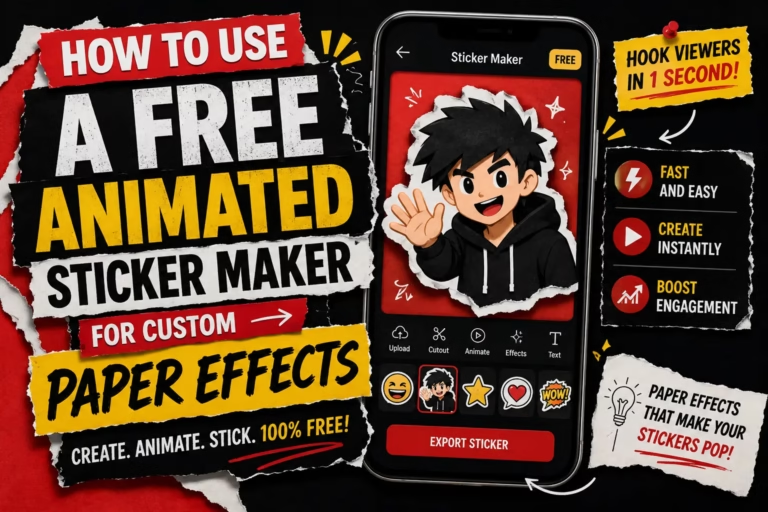
Animated stickers for messaging apps, short intro sequences for YouTube or podcast videos, and social media posts where a single animated graphic replaces a full video all work well with the WebM format this tool produces.
Frequently Asked Questions
Is the Movement Feature Free on PaperAnimators.in?
Yes. Movement controls and WebM export are both free. No payment needed to add movement to paper animation on this tool. Everything runs in your browser without an account.
Can I Use the Animated WebM Directly on Instagram or TikTok?
Not directly as a standalone post. These platforms use their own video formats. Import the WebM into a video editor first, place it over a background, and export as MP4. Then upload the MP4 to the platform.
What Is the Difference Between the Boil Effect and a Regular Animation?
Regular animation moves a subject from one position to another. The boil effect keeps the subject in the same position but adds organic micro-movement to the edges. The subject appears to vibrate slightly, like paper held by a human hand.
Can I Add Movement to Text From the Magazine Letters Feature?
Yes. Magazine Letters exports support the same movement options. Animated ransom-note-style text with a boil effect is a distinctive social media visual that standard animation tools cannot easily replicate.
How Large Is a Typical Animated WebM File?
File size depends on resolution and loop duration. Most exports at standard social media resolution come in under 5MB for a two to three second loop. This sits well within the upload limits of most platforms and editing tools.
About the Author
Abdual Qayyum is a content creator and designer from India. He built Paper Animators to give creators a fast, free way to make paper animation graphics for their videos and social media. For questions, visit the Contact page.
PaperAnimators.in helps content creators make animated paper graphics for YouTube, TikTok, Instagram, and beyond, completely free.