How to Remove Photo Background for Content Creators — Free Guide
Photoshop became the default answer for background removal because for years nothing else did the job well. That changed. Today the fastest way to remove photo background for content creators is a free browser tool that needs no installation and no account. Upload a photo to PaperAnimators.in, click one button, and the background disappears in seconds.
The real question is not how to remove a background. It is what you do with the result that matters for your content. This guide covers both.
Why Most Tools Fail When You Remove Photo Background for Content Creators
Background removal sounds simple until it is not. Automatic tools fail in the same predictable ways every time.
Hair is the hardest part. Fine strands against a busy background confuse almost every automatic tool. You end up with jagged edges that cut into the hair or a halo of the original background colour floating around the head.
Similar colours cause the next most common problem. A white shirt against a white wall gives the tool nothing to work with. It cannot tell where one ends and the other begins, so it guesses wrong.
Graphic designer and educator Ran Segall, founder of Flux Academy, points out that most free tools prioritise speed over accuracy. They work well on simple product shots and struggle with anything complex. Knowing this upfront saves frustration later.
What Paper Animator Does Differently
Paper Animator uses object detection rather than colour matching. Instead of looking for colour differences, it identifies the actual subject in the photo as a distinct object and isolates it as a whole.
This works better on photos with clear subject boundaries. A person standing against a reasonably distinct background comes out clean in most cases. The tool also handles background removal and the paper cut-out step in the same editing session, which saves the extra trip to another app.
For content creators specifically, this matters. You are not just removing a background. You are preparing a subject for a thumbnail, a video overlay, a social media graphic, or a paper animation. Having everything in one place is faster.
Step 1: Prepare Your Photo Before You Upload
This step is something most guides skip but it matters a lot when you remove photo background for content creators work.
Check your lighting first. Photos where the subject is well-lit and the background is a different brightness level give the detection algorithm the clearest signal. A subject lit from the front against a dimmer background produces the cleanest separation.
Check clothing against background. If your subject wears colours similar to the background, note those areas before you start. You will know exactly where to look during the cleanup step.
Use the highest resolution version of the photo you have. A blurry or heavily compressed image from a messaging app produces rough edges no matter how good the detection is. Use the original file wherever possible.
Step 2: Upload and Run Background Removal
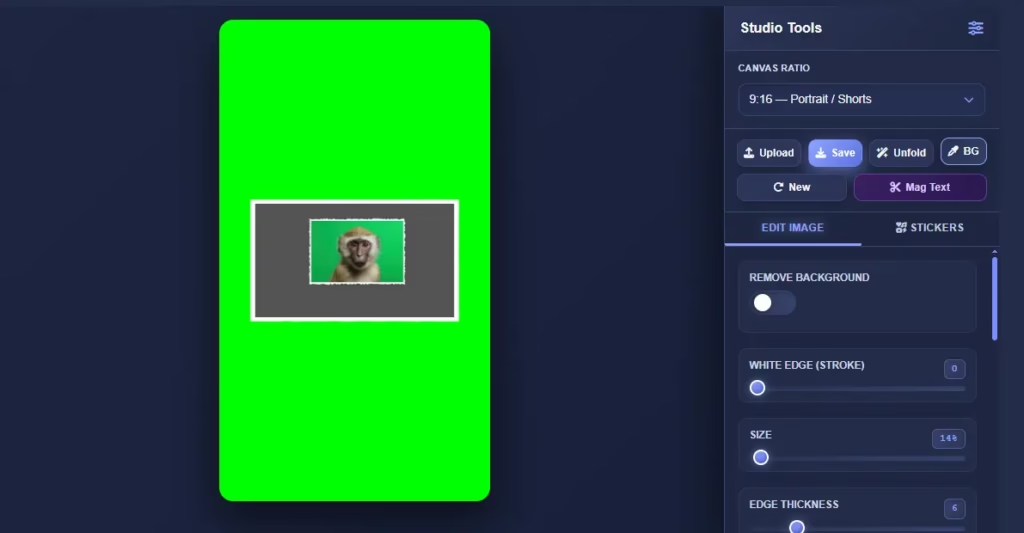
Open PaperAnimators.in and upload your photo. After the photo loads, find Background Removal inside the editing studio and run it before doing anything else.
The tool processes the image automatically. Depending on photo size, this takes between three and ten seconds. When it finishes, your subject appears isolated on a transparent background shown as a grey checkerboard pattern.
Look closely at the edges before moving on. Zoom into the hairline, shoulders, and anywhere the subject meets a complex background. This is where problems show up first.
Step 3: Clean Up Problem Areas
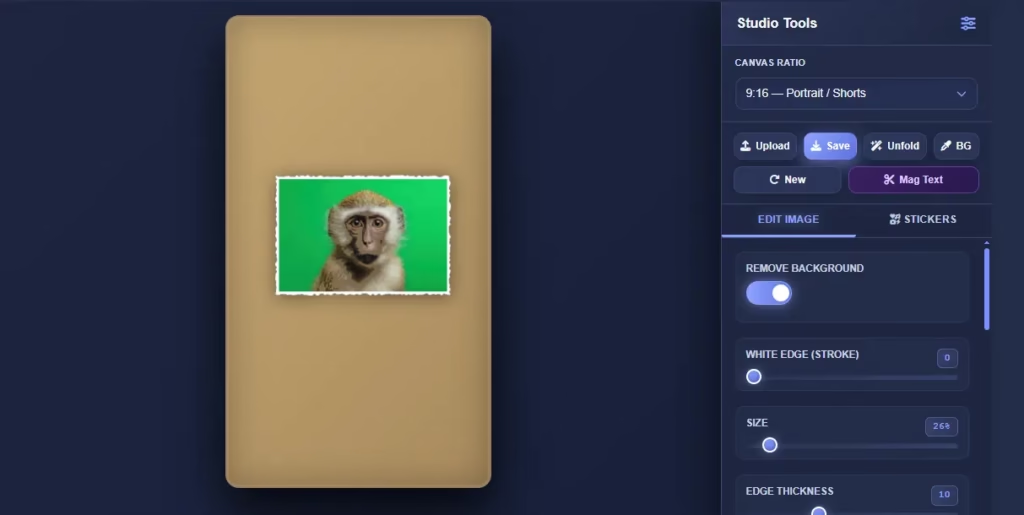
For most photos with a clear subject, the automatic result works well enough to use directly. For photos with hair detail, similar-colour edges, or complex backgrounds, you need to refine the edges.
Tighten the edge when the automatic removal left a faint ring of the original background around the subject. This pulls the visible boundary slightly inward and cuts off leftover fringe.
Soften the edge when the removal cut too aggressively into hair or fabric and left a hard artificial-looking border. A slight feather makes the isolation look natural rather than cut out with scissors.
Most cleanup on a standard portrait takes under a minute. Complex photos with detailed hair take longer but the controls are gradual enough to reach a good result with patience.
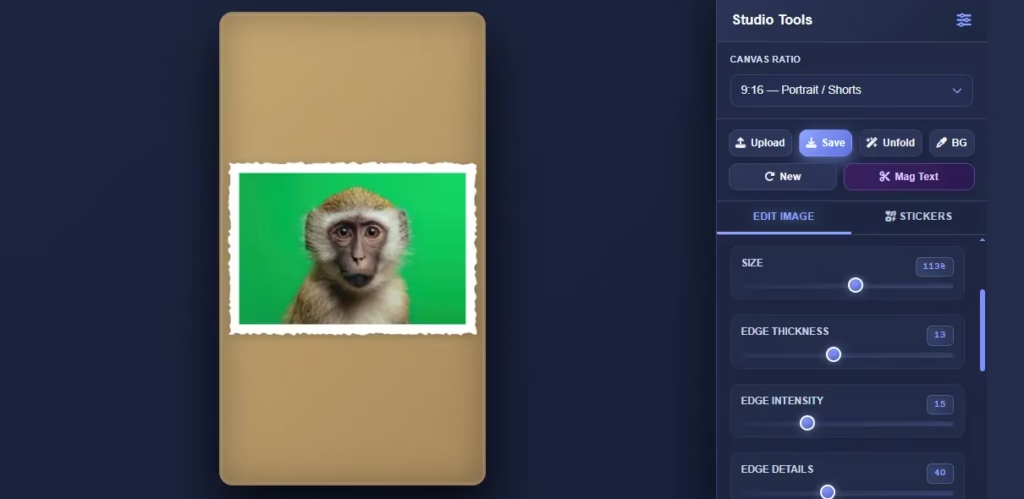
Step 4: Choose What to Do With the Result
This is where the remove photo background for content creators workflow really opens up. An isolated subject is the starting point for several different content types.
Swap the background inside PaperAnimators.in. The editing studio has a built-in background colour option. Replace the transparent background with any solid colour without leaving the tool. Useful for product shots or a consistent look across a content series.
Export as PNG and bring it into Canva. A transparent PNG from PaperAnimators.in sits cleanly on any Canva design. The subject lands on whatever background you build with no white box and no visible edge problems. Works well for social media graphics, presentation slides, and marketing materials.
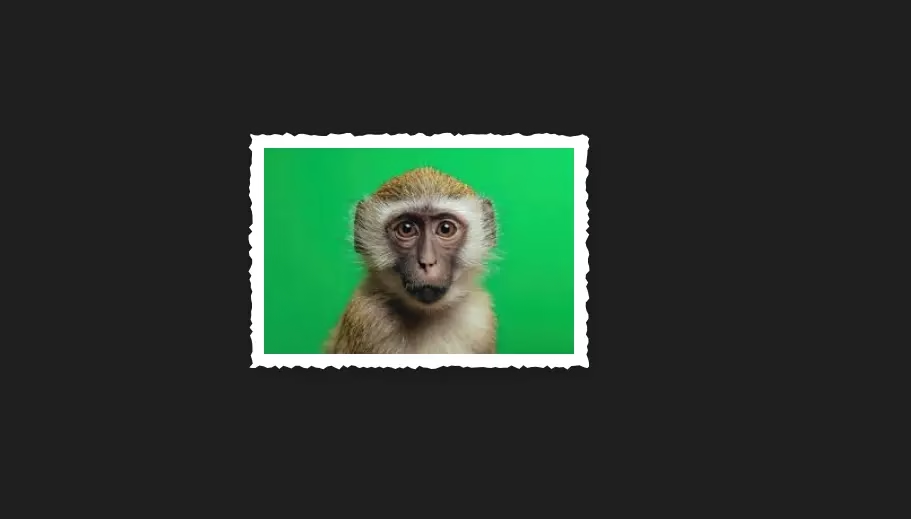
Apply a paper cut-out effect to the isolated subject. Once the background is gone, apply the paper cut-out or fold-out effect directly to the subject. The effect applies only to the subject itself, not to a background that no longer exists.
Export with green screen for video projects. If you need the isolated subject as a video element, use the green screen export after background removal. The subject exports with a solid green background that any video editor removes in seconds.
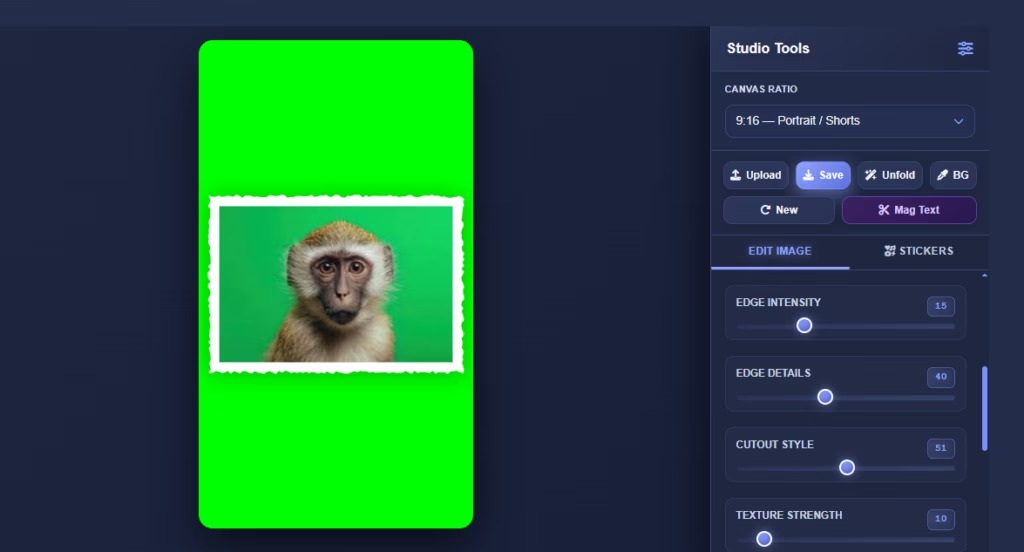
Step 5: Export Your Image
For a standard background-removed photo, select the PNG export option. The file downloads to your device ready to use.
Check two things before downloading. The edge quality should look natural at 100 percent zoom. If the isolation looks clean at full size, it holds up in most use cases.
Make sure the file format is PNG and not JPG. JPG fills transparent areas with white. If you save as JPG and place the image over a coloured background in another tool, a white rectangle appears around your subject. PNG keeps the background fully transparent.
When Automatic Removal Is Not Enough
Some photos need manual work that no automatic tool handles perfectly. These are worth knowing before you start.
Photos where the subject is partially transparent, like a glass object or a person behind frosted glass, cannot separate cleanly. The tool cannot isolate a subject it cannot visually distinguish from the background.
Product photos with reflective surfaces are another limitation. A shiny watch, a glass bottle, or polished metal partially shows the background in its reflection. Removing the background removes the reflection too, which makes the product look flat.
For these cases, automatic removal gets you 80 percent of the way. The remaining cleanup needs a manual touch in a more advanced editor. PaperAnimators.in works well for clean portraits and standard product shots. These edge cases are worth knowing upfront.
Practical Uses for Background-Removed Photos
Social media profile photos look far more professional when the subject sits on a clean solid or gradient background. A casual photo against a random wall does not build trust the same way a clean isolated portrait does.
Product listings on platforms like Daraz, Flipkart, and Amazon recommend or require white or transparent backgrounds for product photos. Background removal gets your product photo to that standard without a photography studio. Small business owners in Nagpur, Bhopal, and Vadodara use this to list products professionally without any design budget.
YouTube thumbnails and social media graphics benefit most from this workflow. Once the background is gone, the subject becomes a design element you can place anywhere. Combined with PaperAnimators.in cut-out effects and sticker options, a single background-removed photo becomes multiple different content pieces.
Frequently Asked Questions
Does Background Removal Work on Product Photos as Well as Portraits?
Yes. The tool works on both. Portraits with clear subjects produce cleaner automatic results. Product photos with complex shapes or reflective surfaces may need edge refinement after the automatic step.
Can I Remove the Background and Add a New One in the Same Session?
Yes. After background removal the editing studio lets you apply a new background colour directly. You do not need to export and re-import into another tool unless you want a photo background rather than a solid colour.
What Is the Difference Between PNG Export and Green Screen Export?
PNG export gives you a still image with a transparent background for graphics and design work. Green screen export gives you a video file with a solid green background for use in video editors. Pick based on whether your final output is a still image or a video.
Is Background Removal Free on PaperAnimators?
Yes. You do not need to pay anything or create an account. Any content creator can remove photo background free on PaperAnimators.in straight away. Everything runs in your browser. Everything runs in your browser.
What File Types Can I Upload?
Paper Animator accepts JPG and PNG uploads. For best results, use the highest resolution version of the photo you have available.
About the Author
Abdual Qayyum is a designer and content creator from India. He started PaperAnimators.in as a free tool for creators who want professional paper animation graphics without complicated software. Reach him through the Contact page.
PaperAnimators.in is a free browser-based tool that helps content creators make paper animation graphics for YouTube, TikTok, and Instagram.