How to Make a Custom Torn Paper PNG Instead of Downloading a Stock One
Abdual Qayyum, Content Creator & Digital Designer | Last Updated: June 2026 | Reading Time: 7 min
Search torn paper png and most results send you to the same handful of stock sites, all offering the same handful of pre-made textures that thousands of other projects have already used. If you have ever needed a torn paper PNG that actually matches your color scheme instead of generic beige, you have probably run into this wall already. Paper Animators solves this by generating a best PNG from your own settings instead of handing you someone else’s fixed file.
Why Every Stock Torn Paper PNG Looks the Same
Stock sites work by producing a batch of textures once and reusing them across millions of downloads. That’s fine when nobody notices, but torn paper has a distinctive enough look that repeat use becomes obvious once the same tear pattern starts showing up on other people’s Instagram posts, print flyers, or YouTube thumbnails. There’s no way to change the color or roughness of a downloaded file without opening a separate photo editor.
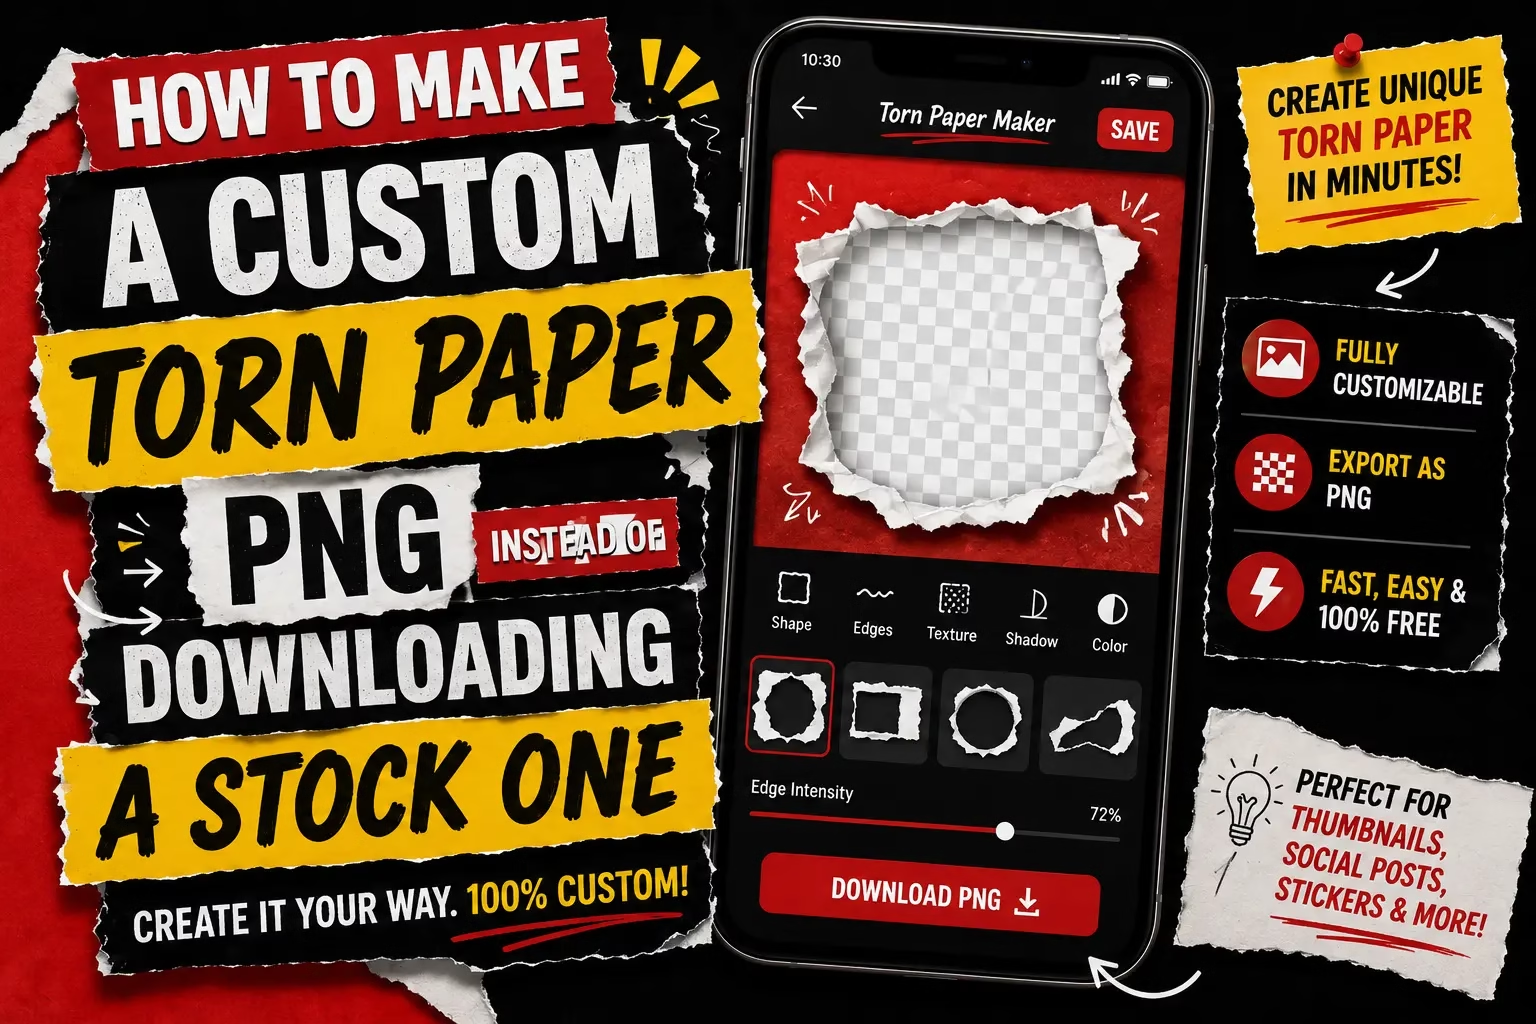
The paper cut tool inside PaperAnimators.in works differently because it generates the paper rather than storing a fixed image. Color comes from a full custom picker, any hex or RGB value, not a locked set of preset swatches. Roughness has four separate styles, Scissor for a clean straight edge, Hand Torn for an irregular natural tear, Ripped for something rougher, and Crinkled for a folded, worn look, and each one can be pushed up or down independently of the texture underneath it.
Why Adjustable Roughness and Texture Together Beats a Fixed File
Most stock torn paper assets bundle roughness and texture into one fixed look, so the tear pattern and the paper grain always come as a package deal, take it or leave it. Having both as independent sliders here means the tear shape and the surface grain don’t have to move together, which produces combinations a static stock file was never built to offer in the first place. Even after building this tool, that flexibility still produces results that surprise me, not because any one setting is secretly the best one, but because the two controls working independently open up far more territory than any single downloaded texture ever could.
A small print shop in Bhopal producing festival flyers might push roughness up with a Hand Torn edge while keeping the texture on the softer, Grain side for something that photocopies warmly without looking harsh. A social media manager in Kochi building Instagram templates for a client’s brand might keep roughness low with the Scissor edge and a Smooth texture instead, since a cleaner tear holds up better against crisp brand fonts than a heavily worn one would.
The same independence works in reverse too. A high roughness setting doesn’t force a rough-looking texture along with it. Pairing aggressive Ripped edges with a Smooth surface produces something that looks dramatically torn at the outline but clean up close, which suits a bold poster or thumbnail where the silhouette needs to read instantly from a distance, even on a small phone screen, without the surface detail competing for attention. That combination doesn’t exist as a single downloadable stock texture, because stock libraries treat rough edge and rough surface as the same decision rather than two separate ones.
Getting the Transparent Background Right
This is the one place people commonly get a result they didn’t expect. The background option defaults to a solid color unless it’s changed to transparent before exporting. If the goal is a torn paper PNG with a see-through background, the background must be manually switched to transparent in the panel first. Skipping that step and exporting anyway produces a PNG with a solid color block behind the torn edges instead of the transparent file most people actually need.
This is worth checking every time, not just the first time, since the background setting doesn’t reset automatically between sessions and it’s easy to forget it was left on solid from a previous export.
Export Quality Without Extra Steps
The torn paper PNG downloads at high resolution automatically, with no manual resolution setting to adjust. That removes a decision most stock sites force on people, where a free download often comes capped at a lower resolution unless you pay for the larger file. For a print job in Bhopal where a flyer needs to hold up at full size without pixelating, that’s one less thing to think about, and one less reason to end up with a texture that looks fine on screen but blurs the moment it’s printed.
Set the background to transparent before exporting, then try matching the paper color to whatever you are actually designing instead of leaving it on the default.