How to Use Paper Animator for YouTube Thumbnails That Get More Clicks
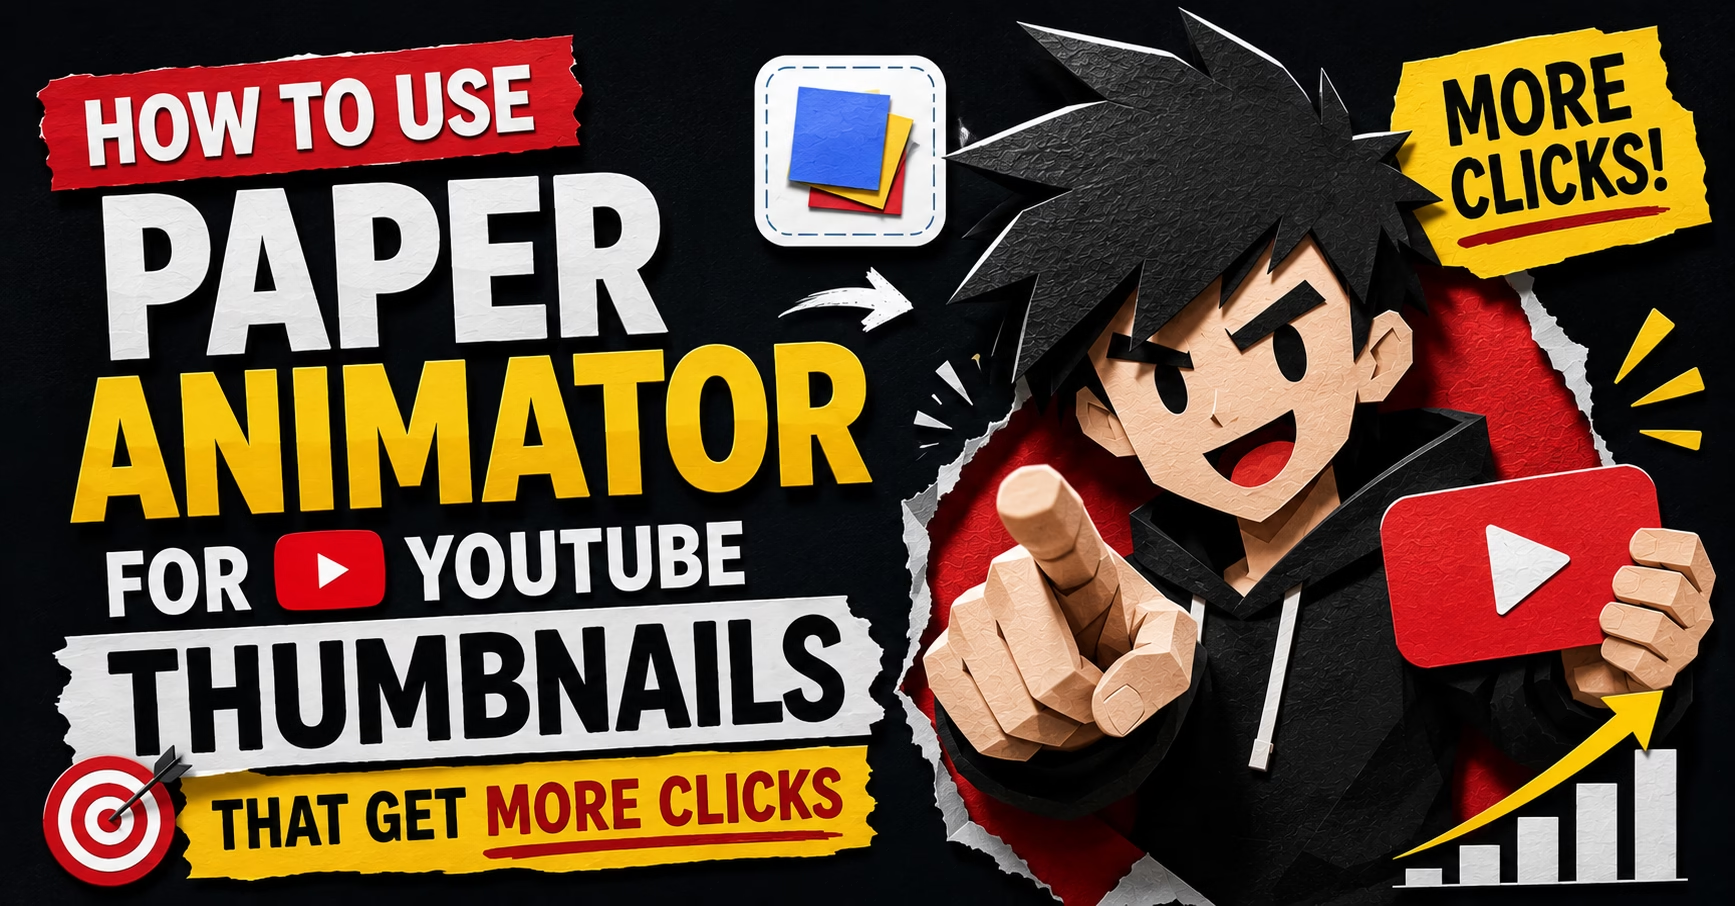
You have probably stopped at one of these thumbnails without knowing why. The person in it looks physically cut out of paper, layered, textured, sitting above the background rather than on it. Using a paper animator for YouTube thumbnails is exactly what makes this style work. It looks handmade. It looks different.
Creators who switch to this style report better click-through rates, and after seeing enough of them it is not hard to understand why. The effect adds real depth to a flat image. Most thumbnails cannot do that.
The tricky part is not the design. Most people get that right. The export is where things go wrong. Wrong format, wrong resolution, one skipped step, and the whole thing falls apart quietly. This guide walks through every step so that does not happen to you.
Why Paper Animator for YouTube Thumbnails Gets More Clicks
YouTube thumbnails display at roughly 210 x 118 pixels in search results, which is tiny. At that size, most thumbnails blend together. The paper cut-out effect inside Paper Animator creates real visual depth through layered edges and directional shadows. Your subject does not just sit on a background. It appears to float above it.
In a feed of polished, heavily filtered images, something that looks handmade stops the scroll. YouTube creator Brian Dean of Backlinko found that thumbnail contrast and subject isolation directly impact click-through rates. That is exactly what this effect delivers at small sizes.
What You Need Before You Start
- A photo or image to use as your thumbnail subject (PNG or JPG both work)
- A free or paid account on PaperAnimators.in
- A design tool for final assembly. Canva is free and works perfectly
- A YouTube channel with custom thumbnail access enabled
No Photoshop, no After Effects, no additional plugins needed at any stage.
Step 1: Upload Your Image
Open PaperAnimators.in and upload the image you want as your thumbnail subject. This is typically a photo of yourself, a product shot, a character, or any visual that represents the video topic clearly. Most creators in India use a plain photo taken against a wall at home.
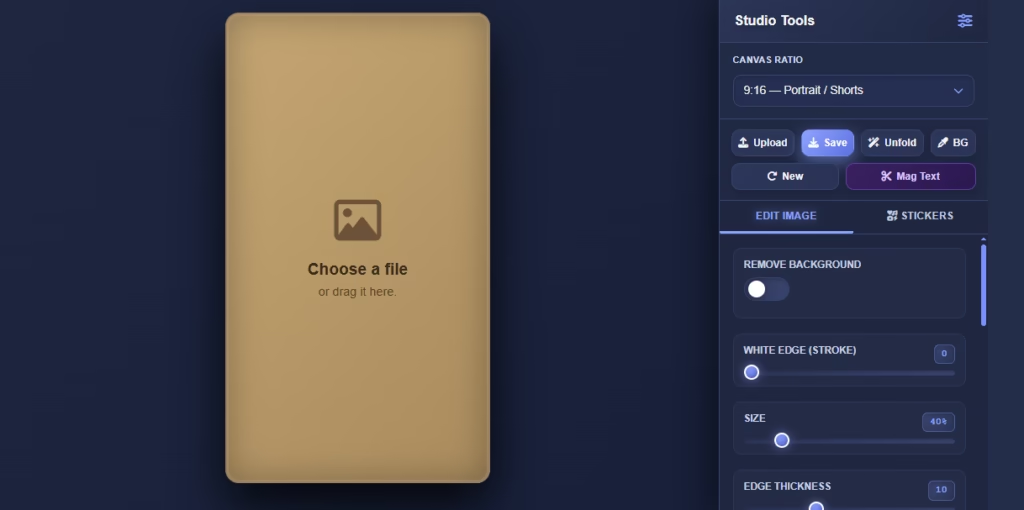
Once the image loads, it appears on the canvas with tool settings on the right side panel. Do not apply any effects yet. The next step handles the background first, which must happen before the paper effect is added.
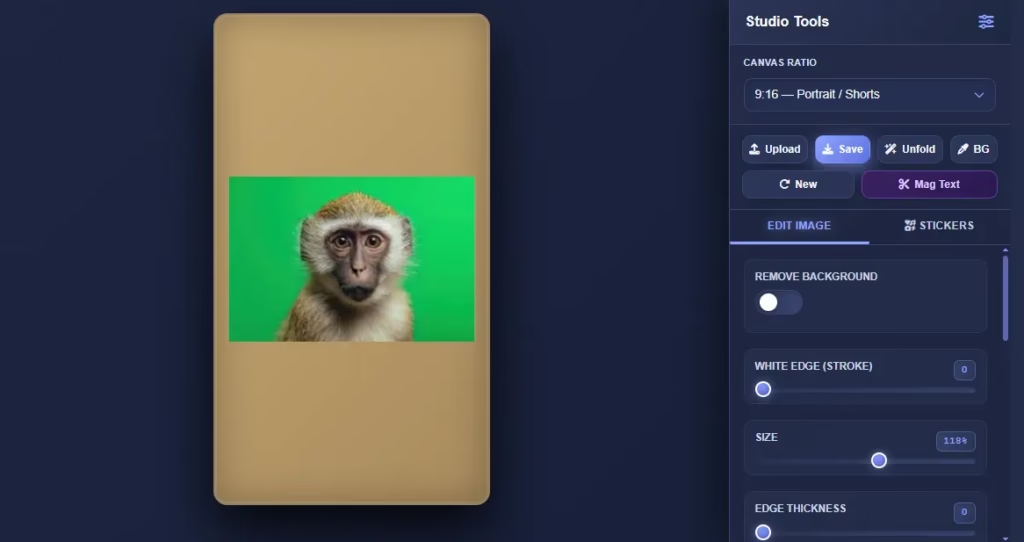
Step 2: Remove the Background
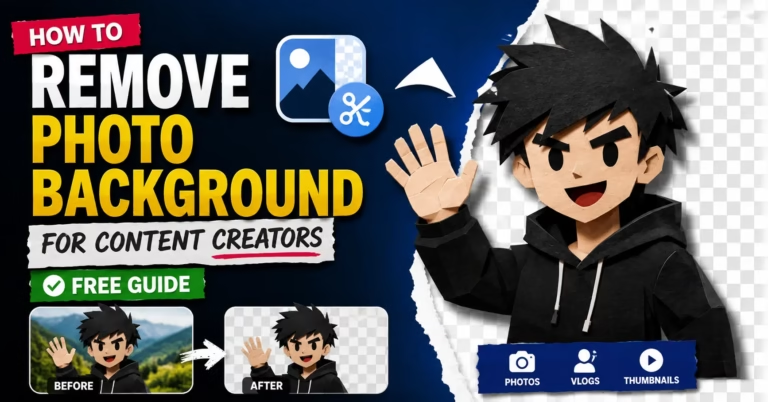
Background removal is the most important step and the one most tutorials skip over. If you apply the paper cut-out effect over a full photo background, it applies to everything including the person, the wall, and the furniture. The result looks cluttered and unprofessional.
Inside Paper Animator, use the built-in Background Removal tool before applying any effects. You will find it in the editing studio alongside background colour, green screen, stickers, and movement controls. Click Background Removal and the tool automatically detects your main subject and separates it from the background.
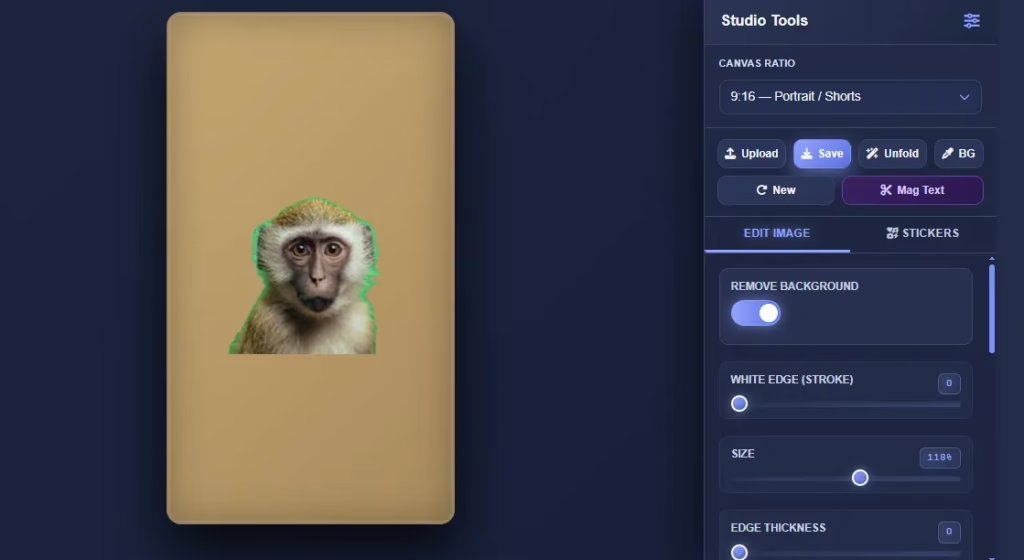
After removal, your subject appears cleanly cut out against a transparent background, shown as a grey checkerboard pattern. If any edges look rough or parts of the background remain, use the refinement controls to clean them up. This clean isolation is what makes the paper effect look sharp and intentional rather than messy.
Step 3: Apply the Paper Cut-Out Effect and Adjust Settings
With a clean subject on a transparent background, select the Paper Cut-Out Effect from the effects panel. This adds the layered paper edges and shadow that give the style its distinctive look.
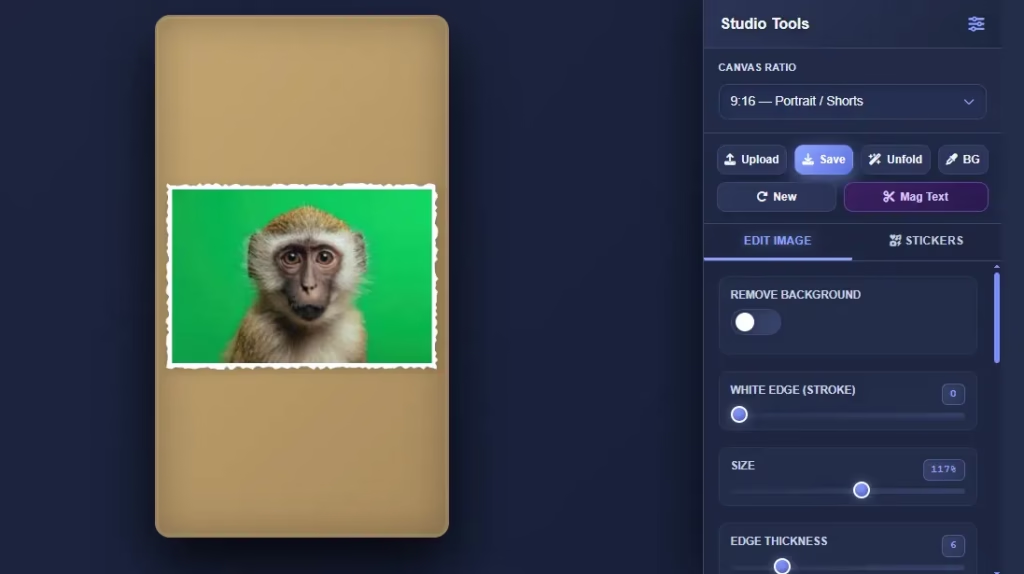
Three settings directly affect how well the effect reads at thumbnail size:
Edge Thickness: Controls how wide the paper border appears around your subject. For thumbnails, keep this between 30 and 50 percent. Thinner than 30 percent and the paper effect becomes invisible when the thumbnail scales down. Above 50 percent and it starts to look exaggerated.
Shadow Intensity: Determines how much the subject appears to lift off the background. A stronger shadow reads better at small sizes, so push this slightly higher for thumbnails. The 60 to 70 percent range works best here.
Texture Strength: Adds subtle paper grain that makes the effect feel physical rather than digital. A light setting of 30 to 40 percent adds authenticity without making the image look noisy when compressed to thumbnail size.
Adjust each setting while watching the canvas preview. What looks right at full size does not always translate well to the small format YouTube uses.
Step 4: Choose Your Export Format
For YouTube thumbnails, you need a transparent PNG. This is the only format that preserves the transparent background so you can place your subject onto any design in Canva without a white box appearing around it. JPG fills transparency with solid white and breaks the whole cut-out effect.
Inside the tool, navigate to export options and select the PNG with transparency option. The WebM and green screen exports work for video projects only.
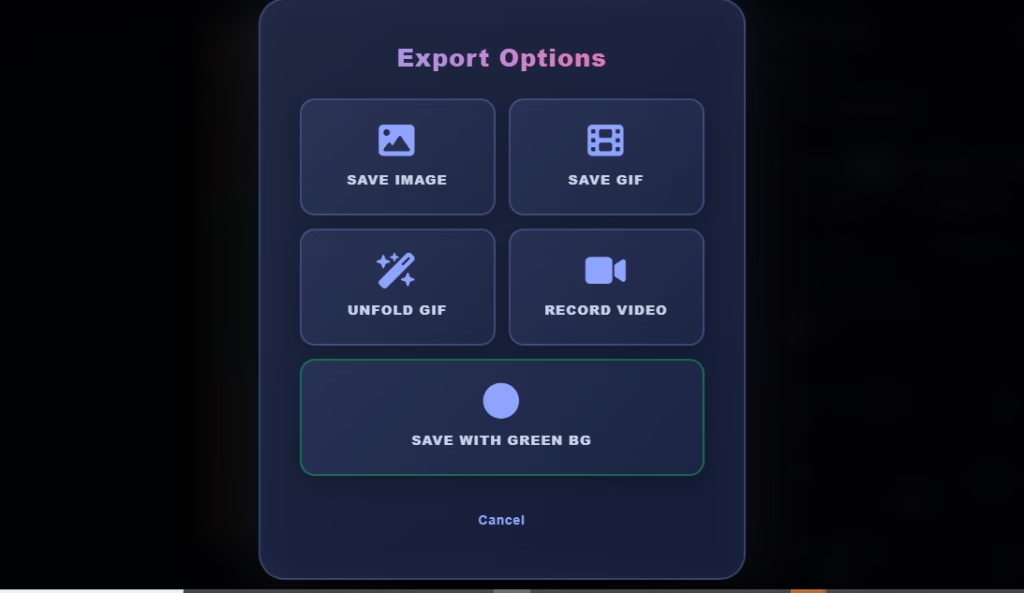
Before downloading, click the Save button and Export Options appear. Select Save Image to download your design as a high quality image file. This gives you the cleanest result with all paper effect details preserved sharply.
The Save with Green BG option is for video editors who want to cut out the subject in video software. The Save GIF, Unfold GIF, and Record Video options are for animated content. You do not need any of those for a thumbnail.
Step 5: Build the Thumbnail in Canva
Open Canva and create a new design at exactly 1280 x 720 pixels. This is YouTube’s required thumbnail dimension and the size YouTube Studio expects on upload. Upload your PNG directly to Canva using the Uploads panel.
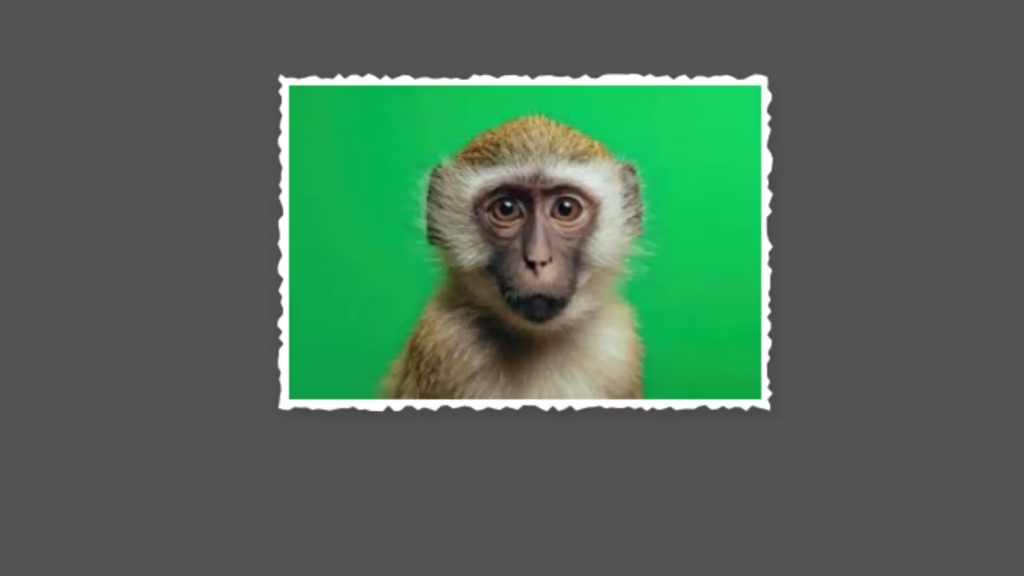
Three design decisions make the biggest difference at thumbnail size:
Background colour
Solid dark backgrounds like deep navy, black, or dark green make paper cut-outs stand out the most. Busy photo backgrounds compete with the layered effect and reduce visual impact. The editing studio inside the tool also has a built-in background colour option if you prefer to do everything in one place.
Text placement
Keep text on the opposite side of the canvas from your subject or below them. Large, bold, high-contrast text at 70 to 90pt reads well at thumbnail size. Avoid placing text over the paper edges where it becomes hard to read.
Magazine Letter element
The tool has a Magazine Letters feature that generates ransom-note-style text as a paper graphic. Adding this to your Canva thumbnail ties the whole design together and makes it feel like one piece rather than a subject dropped onto a background.
Step 6: Export From Canva and Upload to YouTube
Save your thumbnail from Canva as a PNG file. PNG preserves the sharpest edges on the paper effect elements. Keep the file under 2MB, which is YouTube’s maximum file size. A standard 1280×720 PNG from Canva always meets this requirement.
How to Upload Your Thumbnail to YouTube Studio
To upload the thumbnail to a YouTube video:
- Open YouTube Studio and click Content in the left navigation
- Find your video and click the pencil icon to open it
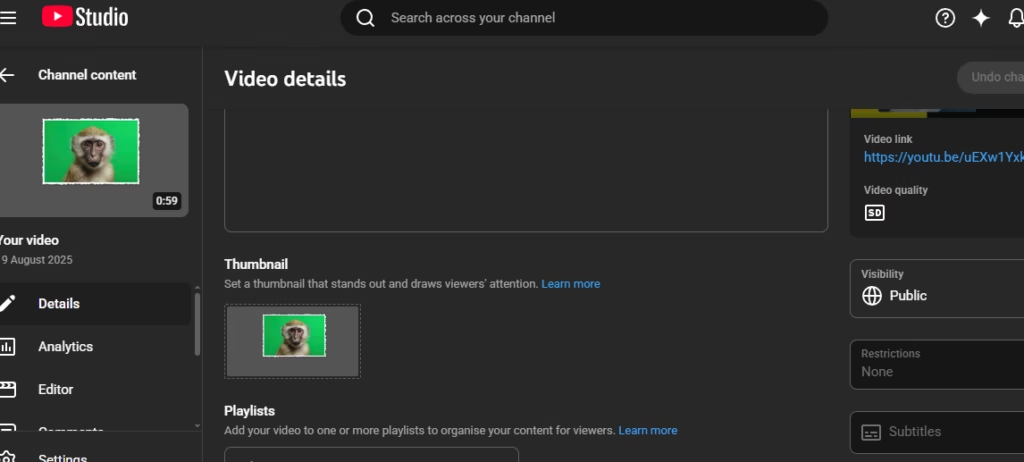
- Scroll down to the Thumbnail section
- Click Upload thumbnail and select your file
- Click Save in the top right corner
After saving, check how the thumbnail looks in your video list on the Content page. If the paper edges disappear or text becomes unreadable at that scale, go back into Canva, increase edge thickness by 10 percent, and re-export. YouTube updates the thumbnail within minutes of re-uploading.
Four Mistakes That Ruin the Final Result
Skipping background removal before applying the paper effect
The effect applies to every pixel in the image. Without removing the background first, you get paper edges around furniture, walls, and everything else in the photo. This is one of the most common mistakes people make when using a paper animator for YouTube thumbnails.
Exporting as JPG at the Paper Effect Stage
JPG does not support transparency. Your transparent background fills solid white, and the cut-out concept breaks down completely when you try to place it in Canva. Always export as PNG when working with your paper animator for YouTube output.
Setting edge thickness below 25 percent
Fine edges disappear at YouTube’s display size. The paper effect becomes invisible and the thumbnail looks like a standard photo with an unusual filter applied. Adjust this setting carefully inside the paper animator for YouTube tool before exporting.
Not checking the mobile view before publishing
Open your video on a phone after uploading the thumbnail. Most YouTube views happen on mobile screens where thumbnails are even smaller. If text is unreadable or the paper effect gets lost at phone scale, the thumbnail is not doing its job.
Frequently Asked Questions
Can I use Paper Animator for YouTube thumbnails for free?
Yes. The free plan on PaperAnimators.in includes the paper cut-out effect and high quality PNG export, which fully meets YouTube’s thumbnail requirements. Everything you need for a professional thumbnail is available at no cost.
What is the best style for thumbnails specifically?
The Paper Cut-Out Effect works best because it produces a single transparent PNG you can reuse across multiple designs. The Fold-Out animation suits video content better.
Can I reuse the same paper cut-out PNG across multiple videos?
Yes, and it is a smart workflow. Export a clean cut-out of yourself once, then reuse it by swapping the background colour and text for each new video. It gives your channel a consistent visual identity while saving time on each thumbnail.
Does the transparent PNG work correctly in Canva?
Yes. Upload it directly to Canva’s Uploads panel. The transparency is fully preserved and the subject appears with clean edges against whatever background you place behind it.
What file size should I aim for when uploading to YouTube?
YouTube accepts thumbnails up to 2MB. A standard 1280×720 PNG from Canva will always be well under this limit. If you add many layers and the file grows large, export as JPG instead. The quality difference is negligible for thumbnails.
About the Author
Abdul Qayyum is a content creator and digital designer from India. He builds and manages PaperAnimators.in, a free online tool that works as a paper animator for YouTube thumbnails, TikTok clips, and Instagram content. Creators worldwide use it to make professional paper-style animations without any design skills. For questions, visit the Contact page.
Published on PaperAnimators.in, the free online Paper Animator tool trusted by content creators worldwide.